How to Add DSLR-Like Blur Effect to Any Photo Using PicsArt
Welcome back to another exciting photo editing tutorial! In today’s post, I’ll guide you step-by-step on how to convert any normal photo into a stunning DSLR-style blurred image using the PicsArt Photo Editor. No need for an expensive camera—just your smartphone and this amazing app!
What You’ll Need
- PicsArt Photo Editor app (Download it from the Google Play Store or Apple App Store)
- A high-resolution photo from your gallery
Step-by-Step Editing Tutorial
1. Open Your Photo
Open your gallery and choose the photo you want to edit. Tap the “Share” option and select “PicsArt” to open it inside the editor.
2. Remove the Background
- In the toolbar, scroll and tap on “Remove”.
- Zoom in and use the brush tool to highlight the subject (not the background).
- Once the subject is brushed, tap “Remove” again. The app will automatically erase the background.
- Click “Done” once the background is removed.
3. Adjust Image Settings
Go to Tools > Adjust and use the following settings for best results:
- Brightness: 10–11
- Contrast: 27–30
- Clarity: 30–34
- Saturation: Around 9–10
- Hue: 14
- Shadows: 5–6
- Highlights: 25
4. Add the Lens Blur Effect
- Go to Effects > Lens Blur.
- Set the Radius to around 34–40.
- Increase Lightness to around 28–30.
- Tap “Done” to apply the blur effect.
5. Add Original Photo as Overlay
- Tap on Add Photo and select the original unedited version.
- Zoom in and align it over the edited photo to cover the canvas properly.
6. Final Adjustments
With the overlay photo selected, go back to Adjust and tweak the following settings:
- Brightness: +2
- Contrast: +4
- Clarity: +10–11
- Saturation: –6
- Highlights: +15–20
- Shadows: –6
Tap “Done” once satisfied.
7. Optional: Use AI Enhance
If you want to take your photo to the next level, use the AI Enhance feature (found in the toolbar). The tool will automatically optimize your image using artificial intelligence. You can compare the “before and after” to decide if you want to keep the enhancement.
8. Save Your Final Image
Once your photo looks perfect, click on Save and choose Save as JPG to download the edited image to your phone.
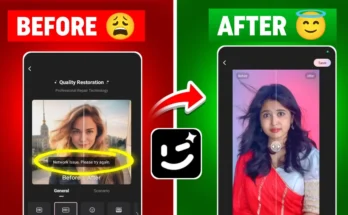
Before and After Example
Try comparing your original image with the final version. The DSLR-like background blur and clarity improvements will give your photo a professional look—perfect for Instagram, thumbnails, or even prints!
Final Thoughts
So that’s how you can easily edit your normal photos into DSLR-style masterpieces using just the PicsArt app. No professional tools needed! Whether you want to blur your background or improve image quality, this method works great and takes just a few minutes.
If you found this guide helpful, don’t forget to like the video and subscribe to the channel for more photo editing tricks!