How to Create Trendy Split-Screen Reels in VN Video Editor (Step-by-Step Guide)
Are you looking to create eye-catching split-screen reels like the ones trending on Instagram and YouTube? VN Video Editor is a powerful yet user-friendly mobile app that can help you achieve professional-looking edits with ease. In this comprehensive guide, I’ll walk you through the entire process of creating split-screen reels in VN, from installation to final export.
Why Use VN Video Editor for Split-Screen Reels?
VN Video Editor is a free mobile editing app available on both Android and iOS. It offers a wide range of features, including:
-
Multi-track editing – Layer multiple clips, images, and audio.
-
Split-screen effects – Create dynamic transitions.
-
Music & beat syncing – Perfect for Instagram Reels and TikTok.
-
High-quality exports – Up to 60fps for smooth playback.
If you’re new to video editing, check out this beginner’s guide to mobile video editing for additional tips.
Step 1: Install and Set Up VN Video Editor
-
Download VN from the Play Store (Android) or App Store (iOS).
-
Open the app and tap the “+” (New Project) button.
-
Select “Stocks” and choose the black background (this will be your base).
-
Set the aspect ratio to 9:16 (ideal for Reels and TikTok).
💡 Pro Tip: Always shoot or edit in 9:16 for vertical platforms like Instagram Reels. Learn more about optimal video dimensions here.
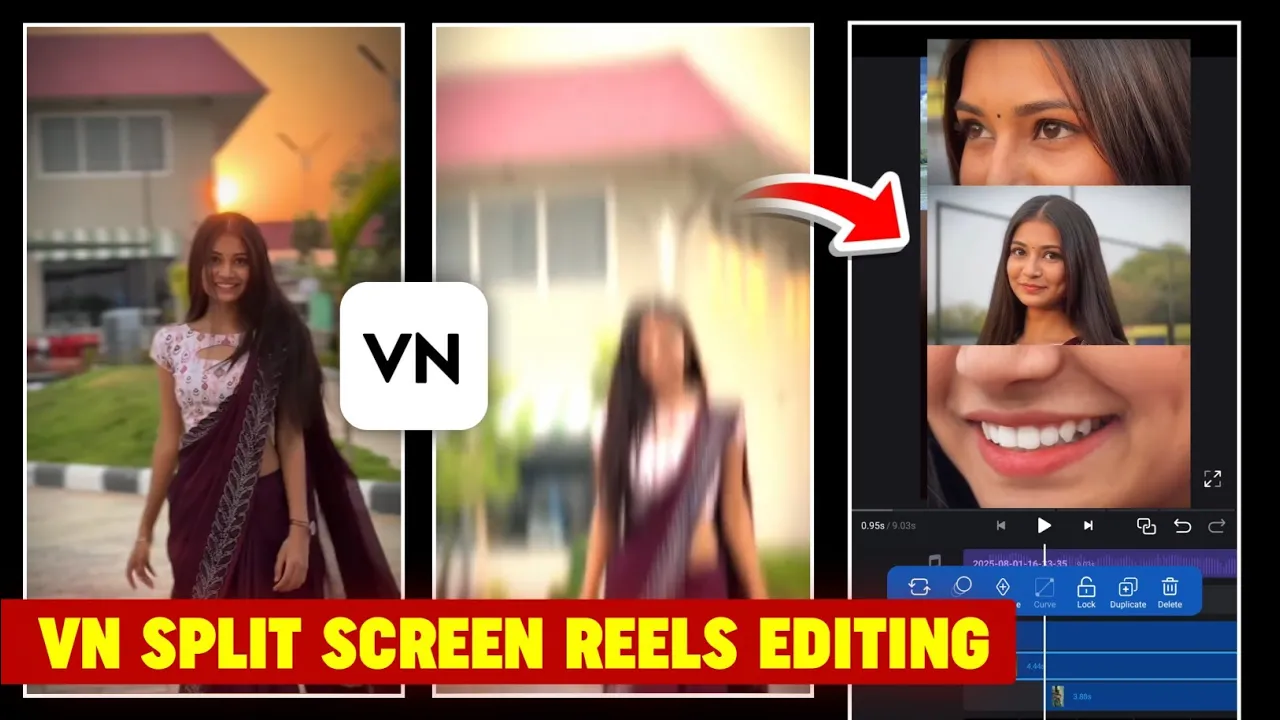
Step 2: Import and Arrange Your Clips
-
Tap the “Media” button (third icon) and select your video clips.
-
Adjust each clip by zooming, rotating, or repositioning them for a split-screen effect.
-
Example: Place one clip at the top and another at the bottom.
-
-
Use the timeline to trim clips for perfect synchronization.
🔹 Need help with basic editing? Check out this VN Editor tutorial for beginners.
Step 3: Add Smooth Transitions & Animations
To make your split-screen reel more dynamic:
-
Select a clip and tap “Motion” → Choose “Fade” for a smooth transition.
-
Apply the fade effect to all clips by selecting “Apply to All.”
-
Adjust the timing so that each clip appears one after another.
💡 Enhance your edits with FX effects (like glitch or zoom) for a more engaging look.
Step 4: Sync with Music & Beat Marking
-
Tap the “Music” button and import a track from your library.
-
Enable “Beat Marking” to sync clips with the song’s rhythm.
-
Tap the beat points manually for precision.
-
-
Trim clips to match the beat marks for seamless transitions.
🎵 Looking for copyright-free music? Try Epidemic Sound or YouTube Audio Library.
Step 5: Apply Slow Motion (Optional)
If you want a cinematic effect:
-
Select a clip → Tap “Speed” → Choose “Curve.”
-
Drag the speed points downward to create slow-motion segments.
-
Ensure the slow-mo aligns with key moments (e.g., eye contact or action shots).
Step 6: Export in High Quality
-
Tap “Export” → Switch to “Manual” settings.
-
Set:
-
Resolution: 1080p
-
Frame Rate: 60fps
-
Bitrate: 50 Mbps (for best quality)
-
-
Save and share directly to Instagram, TikTok, or YouTube!
📌 Want more editing tricks? Read this advanced VN editing guide.
Final Thoughts
Creating split-screen reels in VN Video Editor is simple once you master the basics. By following these steps—arranging clips, adding transitions, syncing music, and exporting in high quality—you can produce professional-looking content in minutes.
🔹 Bonus Tip: Experiment with different layouts (3-way splits, diagonal cuts) for more creativity!
Got questions? Drop them in the comments below! 🚀