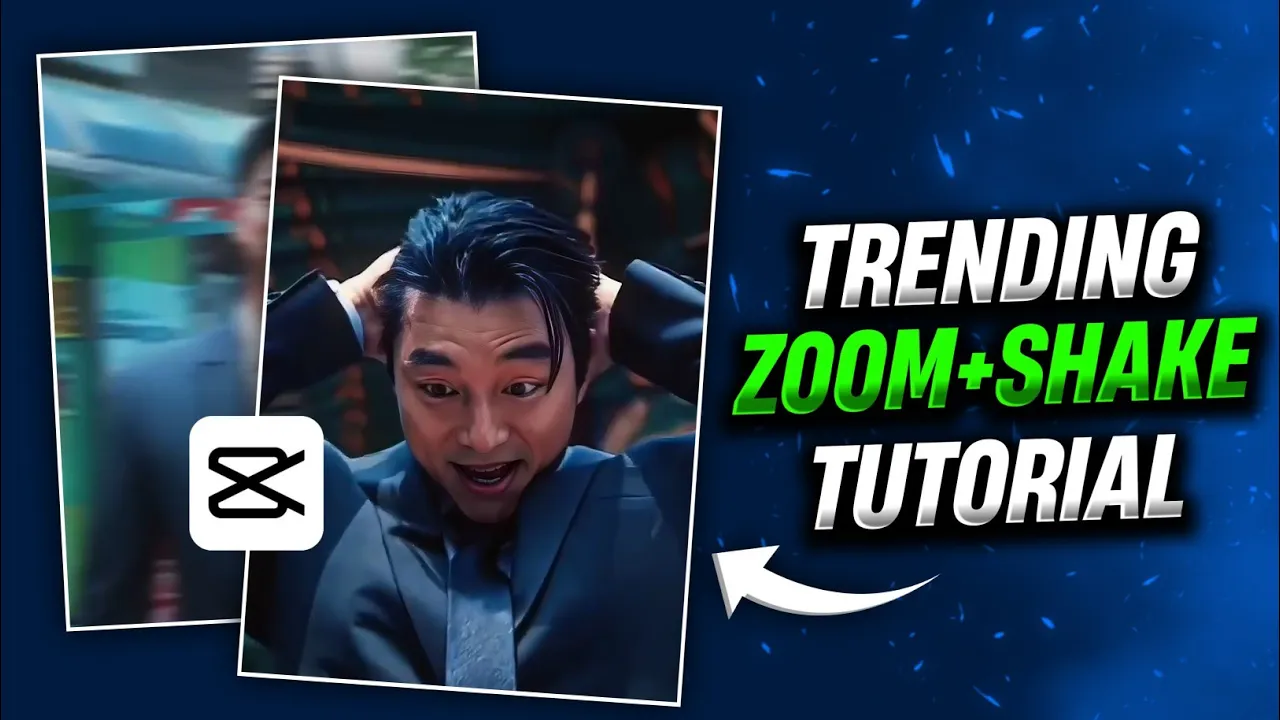
How to Create Viral Zoom + Shake Effect Videos in CapCut (CPKat App)
Do you want to edit trending Zoom + Shake effect videos like the ones you see going viral on Instagram Reels and YouTube Shorts? In this step-by-step guide, I’ll show you how to do it smoothly and easily using the CPKat (CapCut) application. By the end, you’ll be able to create professional-quality edits that grab attention and get more views.
Step 1: Install and Prepare CapCut (CPKat App)
First, you’ll need the CapCut app. If you can’t access it in your country, use a VPN. You can download a VPN like Turbo VPN from the Google Play Store, open it, and connect to any server. Once connected, install and open CapCut.
Step 2: Create a New Project
Inside CapCut, tap “New Project” and select the video clips you want to edit. If you want high-quality footage, search for 4K clips on Instagram or YouTube—for example, “4K Messi video” or “4K Ronaldo video.” Save them to your device and import them into CapCut.
Step 3: Adjust the Aspect Ratio
Tap on the aspect ratio option and select 1:1 for a square video format, which works great for Instagram Reels. Then, use the Reframe option to crop and auto-track your video clips. Repeat this for all your clips.
Step 4: Add Music and Beat Marking
Go to the Audio section and choose your desired soundtrack. You can use trending sounds—check the video description for popular audio links. Add the track and manually mark the beats by listening carefully and tapping “Add Beat” at the right moments. Avoid auto-beat detection, as it often adds unnecessary marks.
Step 5: Align Video Clips with Beats
Now, adjust each video clip so it changes in sync with the beats. Use the Split tool to trim excess parts and keep the clips aligned with your beat markers for a smooth, rhythmic flow.
Step 6: Add Zoom and Shake Animations
To create the Zoom effect:
- Select a clip, add a keyframe at the start and end.
- Zoom in or out depending on the desired effect.
- Go to the Graph section and select a smooth curve for seamless movement.
To add the Shake effect:
- Go to Animation → In and choose “Unfold” or other similar effects.
- Set the duration to around 0.2 seconds for a snappy transition.
Step 7: Mix Zoom In and Zoom Out Effects
You can alternate between Zoom In and Zoom Out effects to keep your video dynamic. Add different animations for variety, such as Horizontal Blur or Fade, especially on strong beats.
Step 8: Export Your Video
Once your editing is complete, tap Export, set the resolution and quality to maximum, and save it to your device. Your viral-ready video is now complete!
Why This Editing Style Works
Zoom + Shake effects keep the viewer engaged and match perfectly with trending sounds, which is why they often go viral. Short, impactful clips that sync with the music beat are more likely to appear on Instagram Reels and TikTok recommendations.
Pro Tips
- Always use high-quality 4K footage for a professional look.
- Experiment with different animation speeds and graph curves for unique results.
- Stay updated on trending sounds from TikTok’s Music Library.
Final Thoughts
Creating a Zoom + Shake effect video in CapCut is surprisingly easy once you understand beat marking and keyframe animations. With practice, you can make stunning videos that stand out on social media and attract more followers.
Start editing today and take your video content to the next level!